Use the Generate a Trip function to identify a point of origin and a destination then the system will create a route between the two.
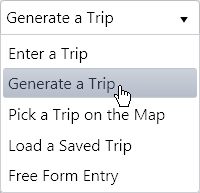
From the Trip Definition drop-down, choose the Generate a Trip option.
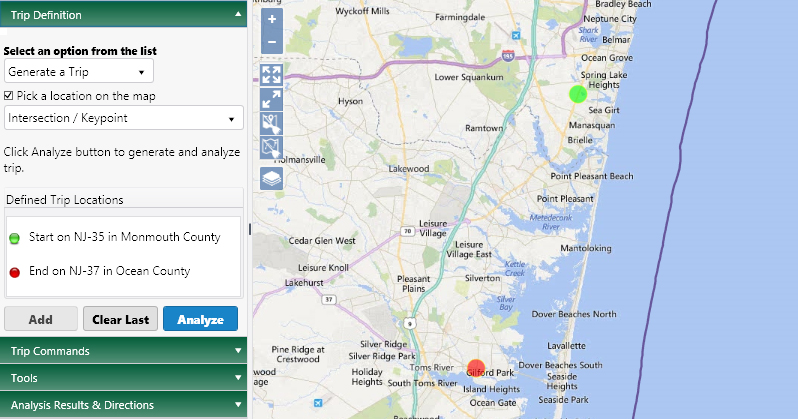
The Trip Definition pane will change, reconfiguring to allow you to define your trip by choosing a start location, identifying points of transition along the way, and designating your destination.
Check the Pick a Location on the Map box to equip your cursor to select Start and End locations on the map.
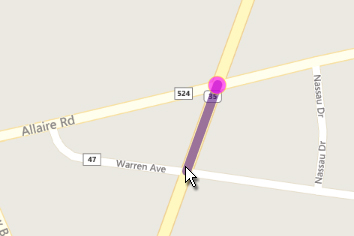
Note: When you click, the map panel will zoom and focus on the location, illustrating the origin point with a circle and the path of travel with a line. Click on the end of the line toward the end point to indicate the direction of travel.
Access alternative Start/End point identification methods by expanding the drop-down and choosing from the available options.

Choose the Intersection/Keypoint option then enter a Location in the field provided.
You need only enter the first few letters or numbers of the location name (ex, NJ-37) before the system begins prompting you with likely candidates for the intended destination. Choose from the options then hit the Add button to set the set the location as the starting point of your trip. Repeat this process to set the End point.
Chose the County Milepoint then enter a route number (ex, NJ-37) in the field provided.
You need only enter the first few letters or numbers of the route number (ex, NJ-37) before the system begins prompting you with likely candidates for the intended route. Upon selecting the desired route from the options, the system will present you with a list of counties from which to choose. Click on a county then hit the Add button to set the set the border of the chosen counting as the starting point of your trip. Repeat this process to set the End point.
Choose the Street Address option then enter the address from which you will be travelling.
It is likely that the street address you give will not fall directly on a routable road. An alert will appear to tell you when this is the case. Click the OK button to acknowledge the alert.

Options for a point of entry to the routing network will appear below. When you click on an option, the map will zoom and center on the chosen spot. If the entry point is desirable, click the OK button.
The destination is marked with a red circle.
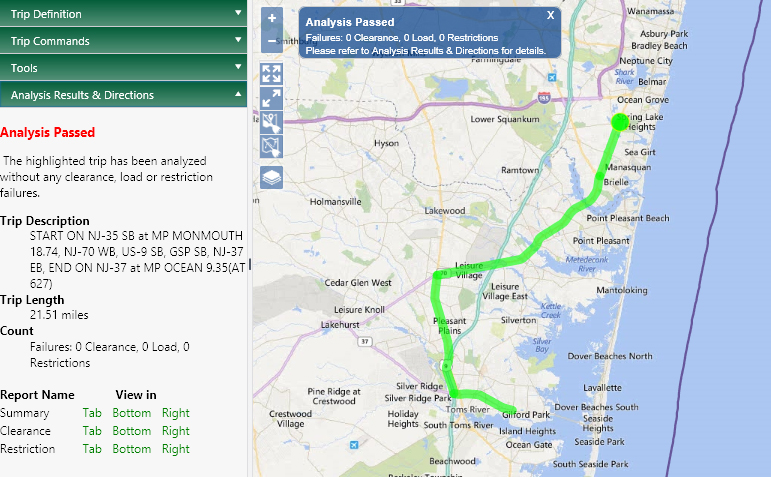
Click the Analyze button to have the system generate your trip.
Review the results on the Analysis Results & Directions pane.
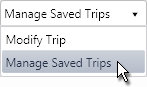
To store a copy of your trip for future use, click the Trip Commands title bar then expand the drop-down and choose the Manage Saved Trips option.
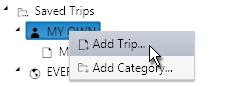
Right-click on the My Own folder then choose Add Trip from the pop-up menu.
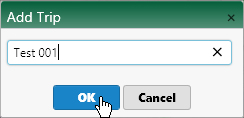
On the Add Trip dialog, enter a name for the trip then click the OK button.
Click the Save button to avoid losing your application.

Click the Continue button.
